The Papercut client allows users who charge to more than one cost centre to print to the cost centre of their choice.
Step 1
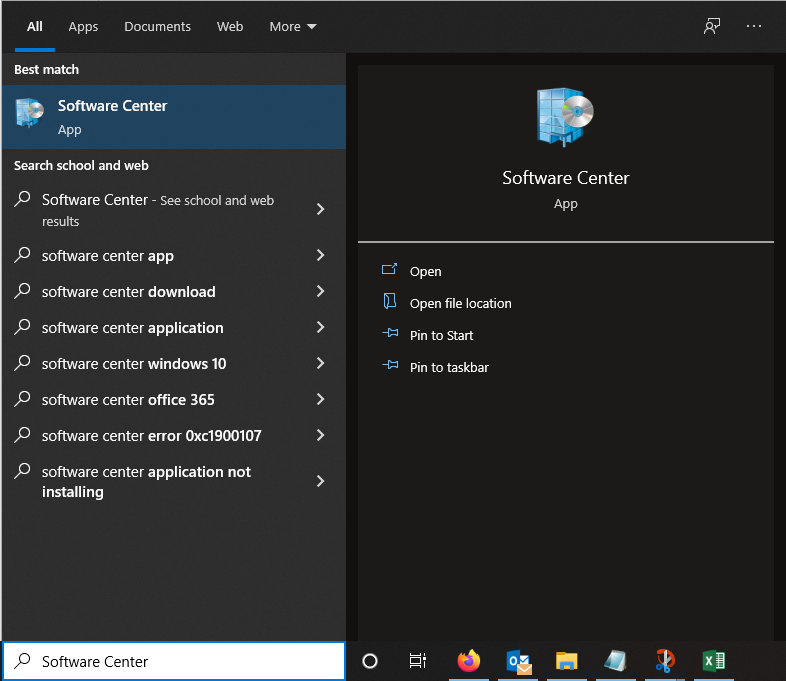
Open the VIU Software Center / Company Portal.
Dependent on your system, this may be called either the 'Software Center' or the 'Company Portal.'
Type Software Center at the Start menu and select the Software Center item.
If you can't see it, try searching for 'Company Portal' instead.
Step 2
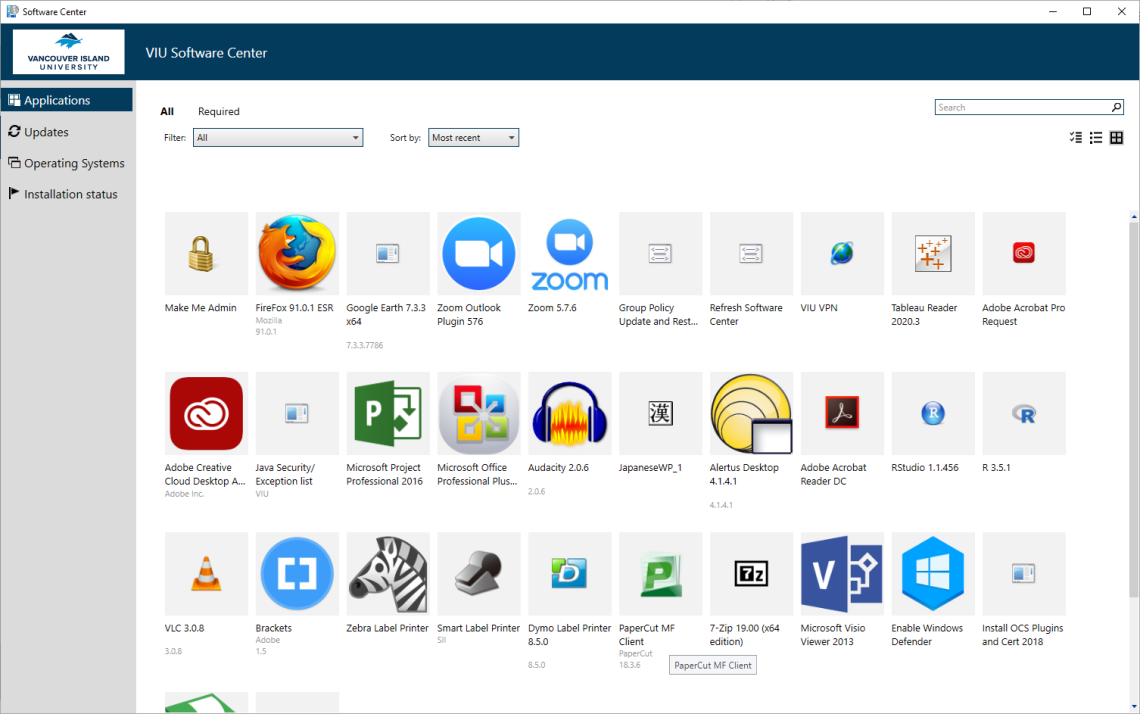
Click on PaperCut MF Client
Step 3
Click on Install and the installation process will begin.
Note: if you only see Uninstall as an option, you already have the software installed.

Step 4
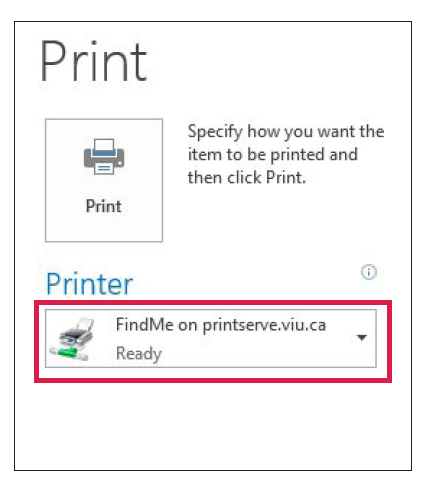
Print as normal.
Step 5
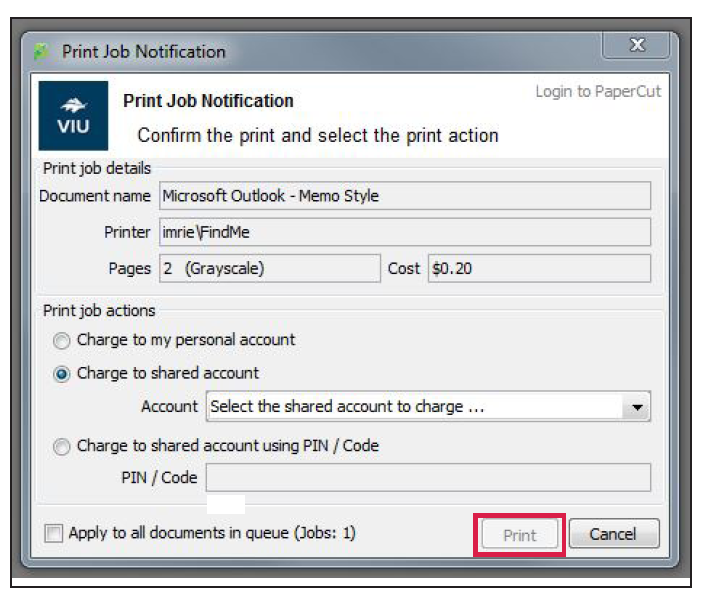
The Print Job Notification window will pop-up.
Click on Select the shared account to charge.
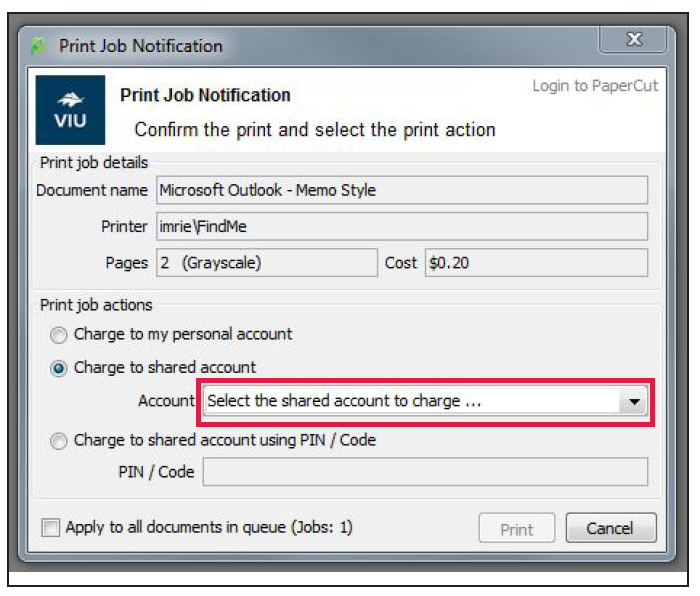
Step 6
Select the cost centre that you would like to charge the job to and click Print.
You can now go to your print device and release your job(s).
Are you an Area Assistant needing to give access to a shared printing account?
Area Assistants can request admin permissions for Papercut in order to give employees access to shared printing accounts, instructions on how to do so are found here.
Adding a shared account on Papercut